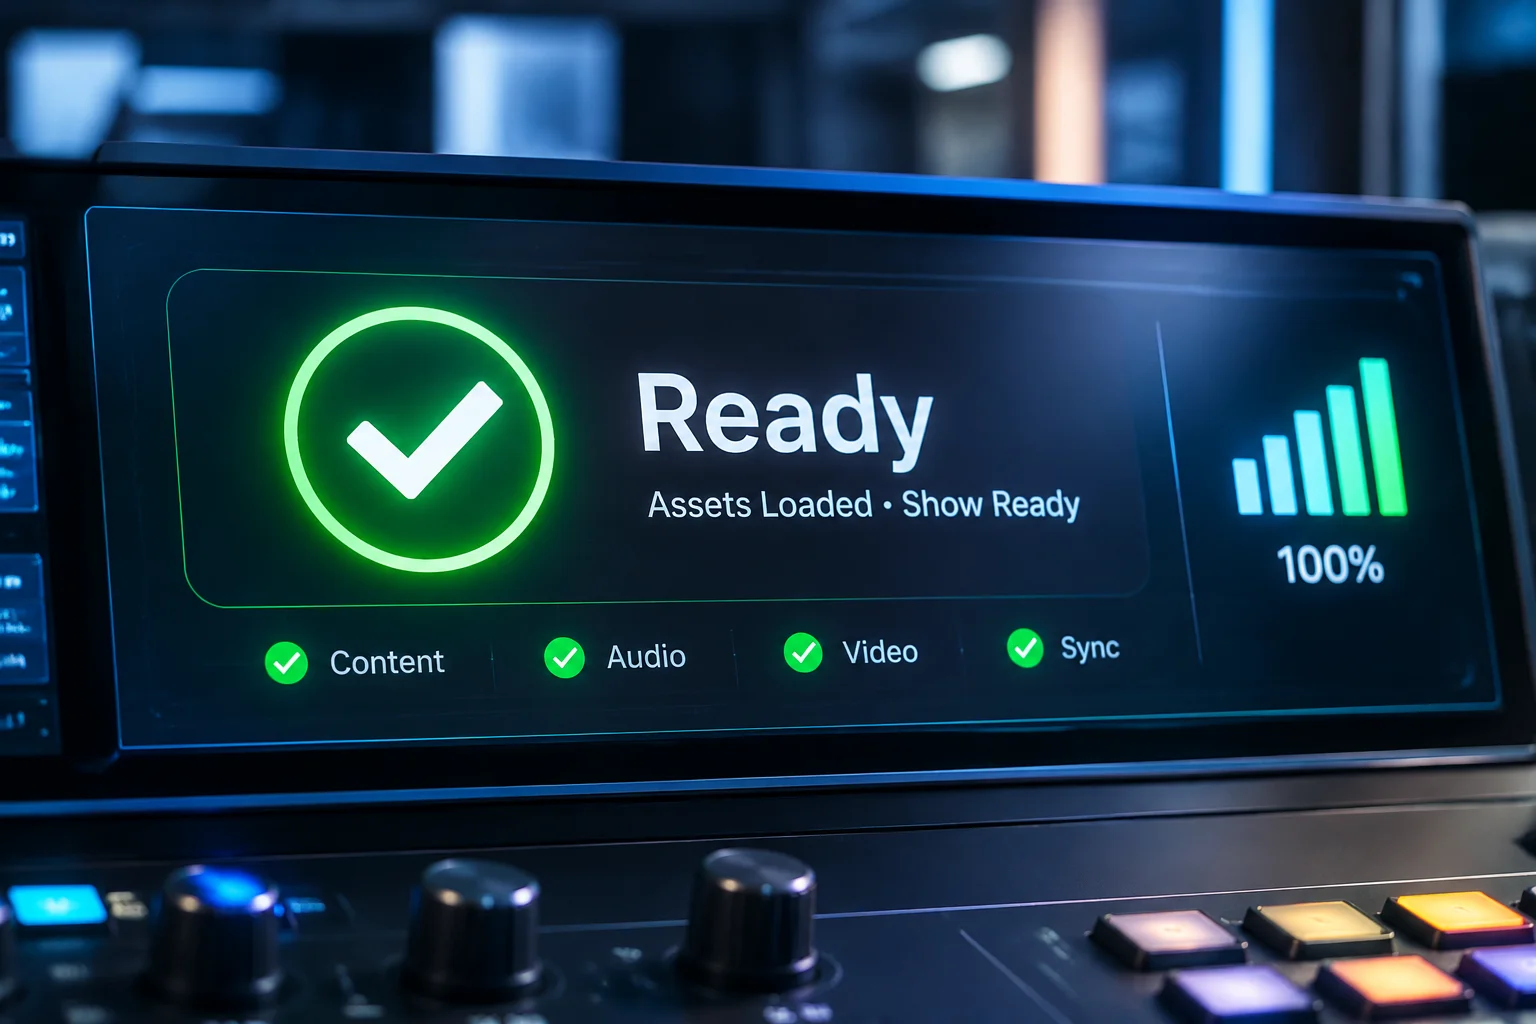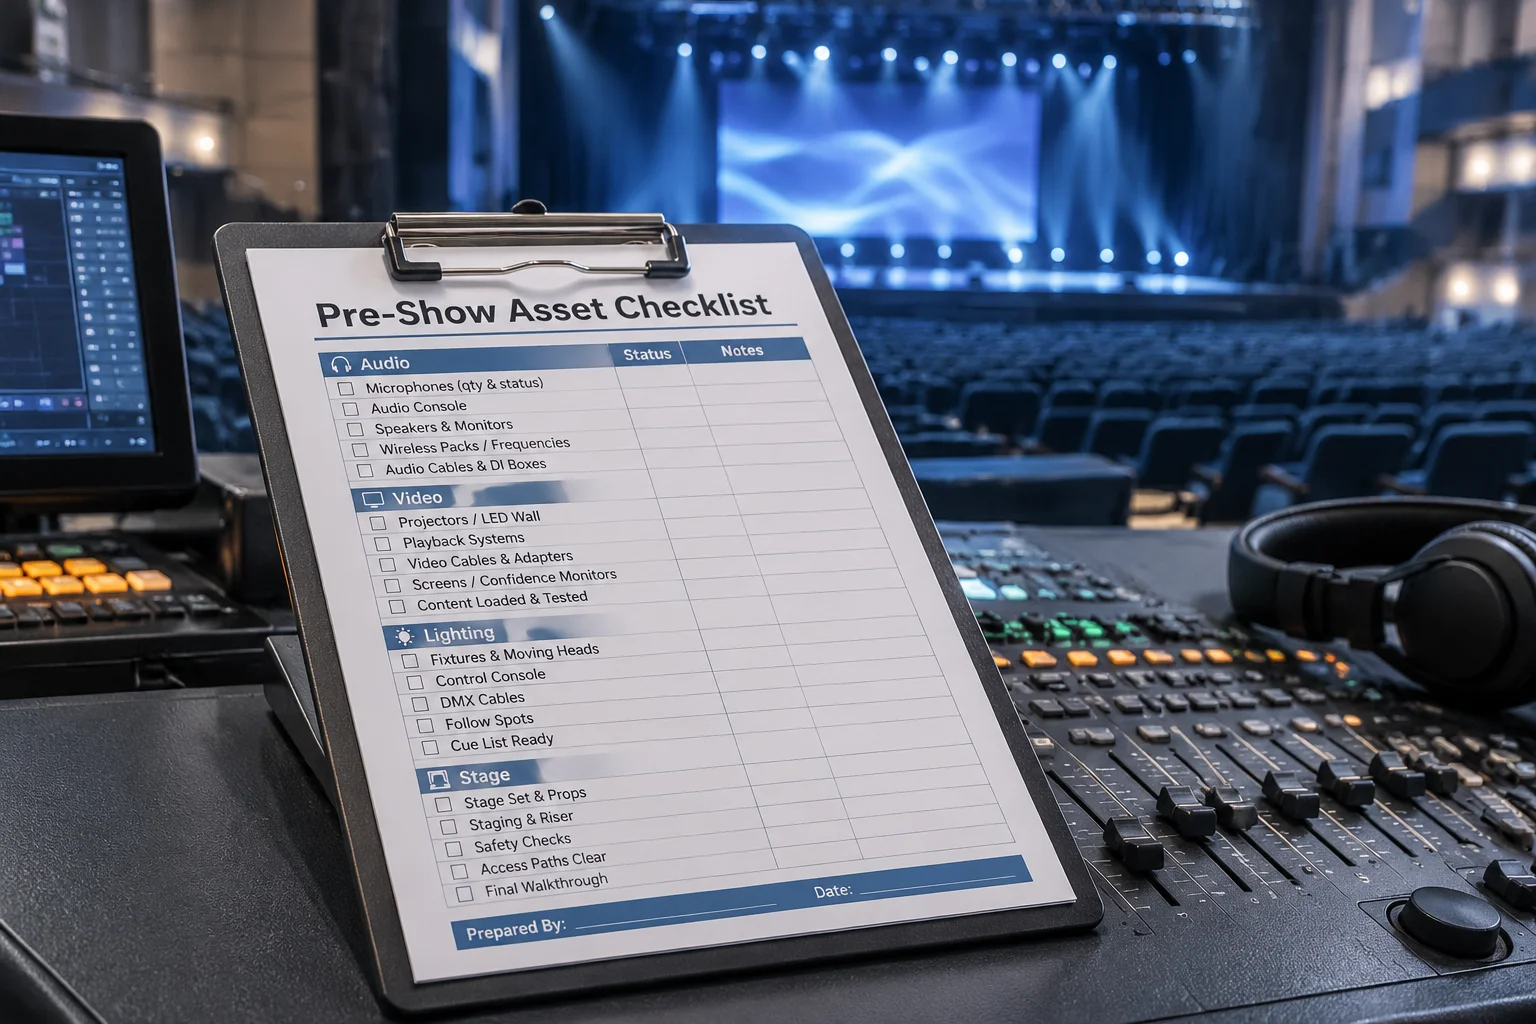
Why You Need a Pre-Show Asset Checklist
Event production environments are often complex, involving multiple workstations, shared drives, and interconnected file dependencies. An asset checklist serves as your final safeguard, confirming that every video, graphic, and audio clip is not just imported, but actually available to the presentation engine.
The Core Components of Your Checklist
Your checklist should go beyond simple file presence. Verify your source paths, check for relative path dependencies, and simulate the presentation environment. If a file path changes across machines, your register must account for those discrepancies long before the audience arrives.
Executing the Verification Workflow
- Import Audit: Re-verify that the media is not just linked but reside where the software expects.
- Path Synchronization: Ensure all external paths match the current workstation configuration.
- Mock Run: Trigger every asset in a real-world playback simulation to identify errors early.
Frequently Asked Questions
Which computer should be used for the final check?
Use the actual show workstation with the intended drives, user permissions, displays, and audio outputs connected.
When should the checklist be repeated?
Repeat the affected checks after media replacements, project transfers, storage changes, or playback configuration changes.