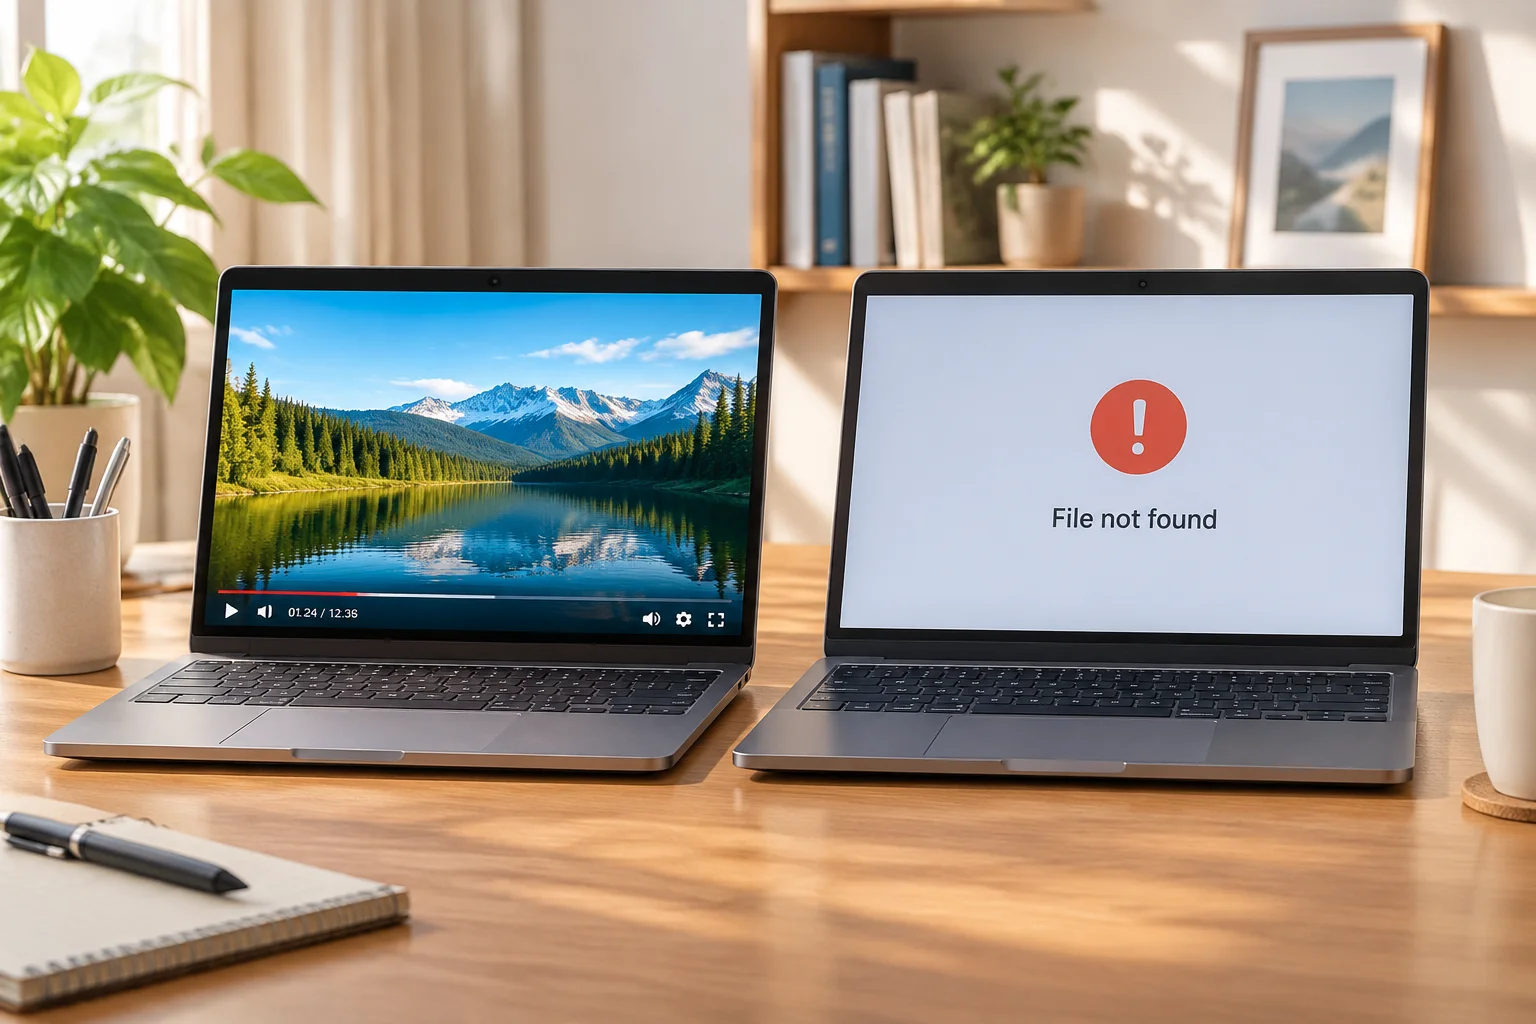
A video file playing perfectly on one computer while failing on another is one of the most frustrating challenges faced by media operators, presentation managers, and event technicians. This breakdown occurs because most presentation and playback software stores absolute file path references rather than embedding large high-definition video files directly inside the project document.
Understanding Absolute File Paths vs. Embedded Assets
When you add a video clip to a presentation slide or media playlist on your primary laptop, the software logs the exact file location on your local drive—for instance, C:\Users\Editor\Desktop\Videos\intro.mp4. The document contains an explicit instructions pointer rather than the raw binary video data. Transferring only the project file via email or flash drive leaves the video behind on the source system, leading to a black screen or missing asset banner on the destination workstation.
"Importing a video into a presentation playlist creates a pointer to a physical storage location. If that path changes or the target file remains on another hard drive, playback will fail regardless of how powerful the playback computer is."
Common Root Causes of Cross-Workstation Media Failures
While missing files are the most frequent culprit, several secondary factors prevent video playback on secondary control systems:
- Drive Letter Discrepancies: External hard drives and USB sticks receive different drive letters (e.g.,
E:vs.F:) across different workstations, breaking absolute path linkages. - Missing System Codecs: Specialized video formats or H.265/HEVC containers may lack hardware acceleration or decoder support on older presentation laptops.
- User Directory Mismatches: File paths anchored inside user-specific system folders (like
C:\Users\JohnDoe\Documents\) cannot be resolved on a target machine with a different user profile name. - Restricted Network Permissions: Media residing on network storage or shared drives may become inaccessible if secondary computers lack proper network credentials or offline cache permissions.
Proven Steps to Guarantee Media Transportability
To eliminate pre-show surprises and ensure videos play seamlessly on any destination computer, implement these best practices prior to rehearsal:
- Bundle Project Files and Media: Always use your software's native export or archiving tool (such as "Package for CD", "Consolidate Media", or "Export Bundle") to bundle the project file and all associated media clips into a single directory.
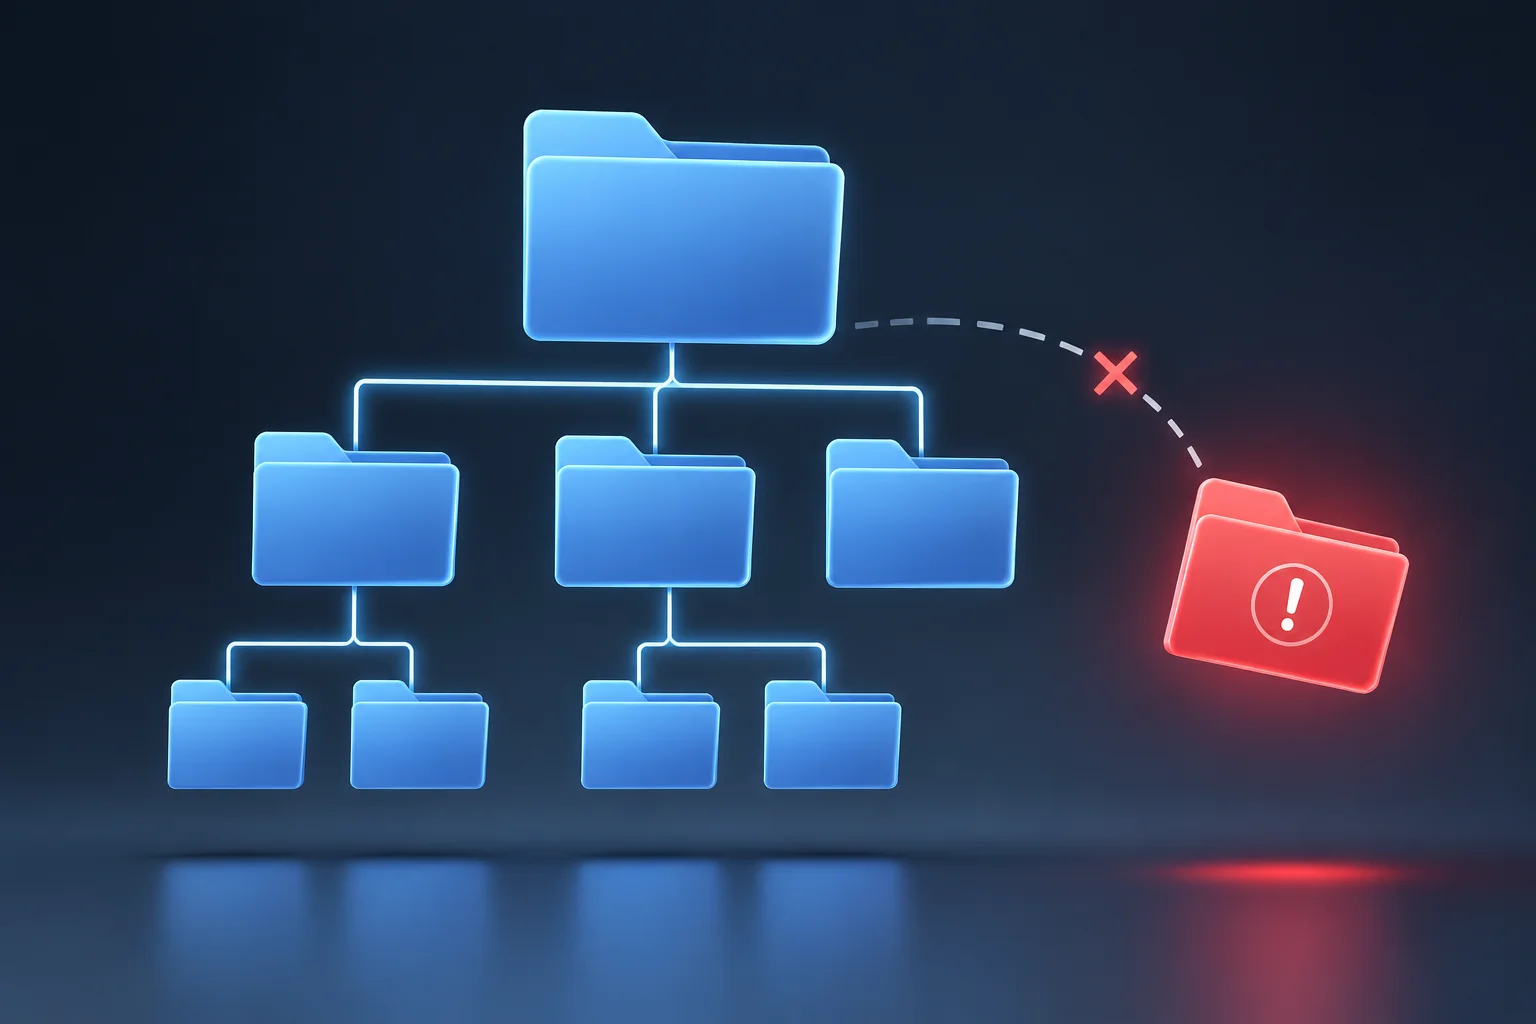
- Standardize Folder Hierarchies: Keep all video, graphics, and audio assets inside a dedicated
/Mediasubfolder inside the primary project directory before linking them in your presentation software. - Perform Pre-Show Audits: Open the presentation on the target playback laptop at least two hours before showtime to verify that all clips trigger properly and audio outputs route correctly.
- Convert Files to Universal Formats: Transcode high-bitrate video clips into widely supported codecs such as H.264/MP4 with standard AAC audio prior to transferring them between devices.
Summary Checklist for Media Operators
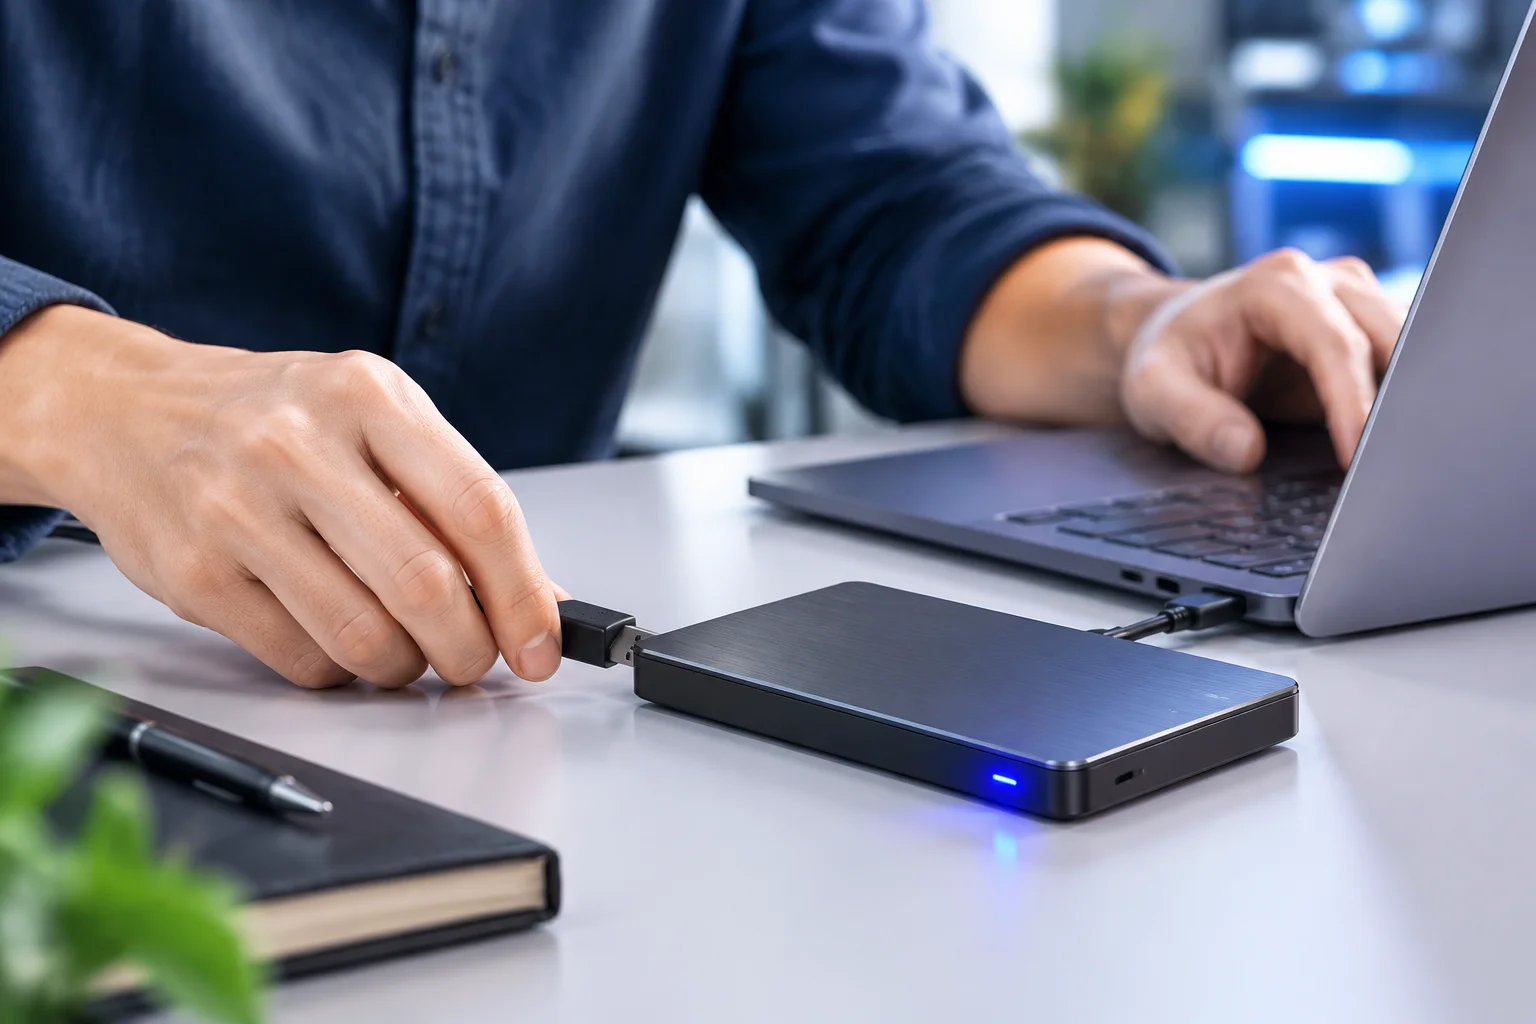
Before handing off a presentation laptop to the control deck, run through a quick verification routine: verify that all video files reside within relative project folders, test full-screen playback on the actual hardware, and keep raw original files backed up on a fast external SSD drive.